Aug 23, 2021
Learn how easy it is to install a kitchen tile backsplash with this step-by-step guide to help you tackle your next DIY project.
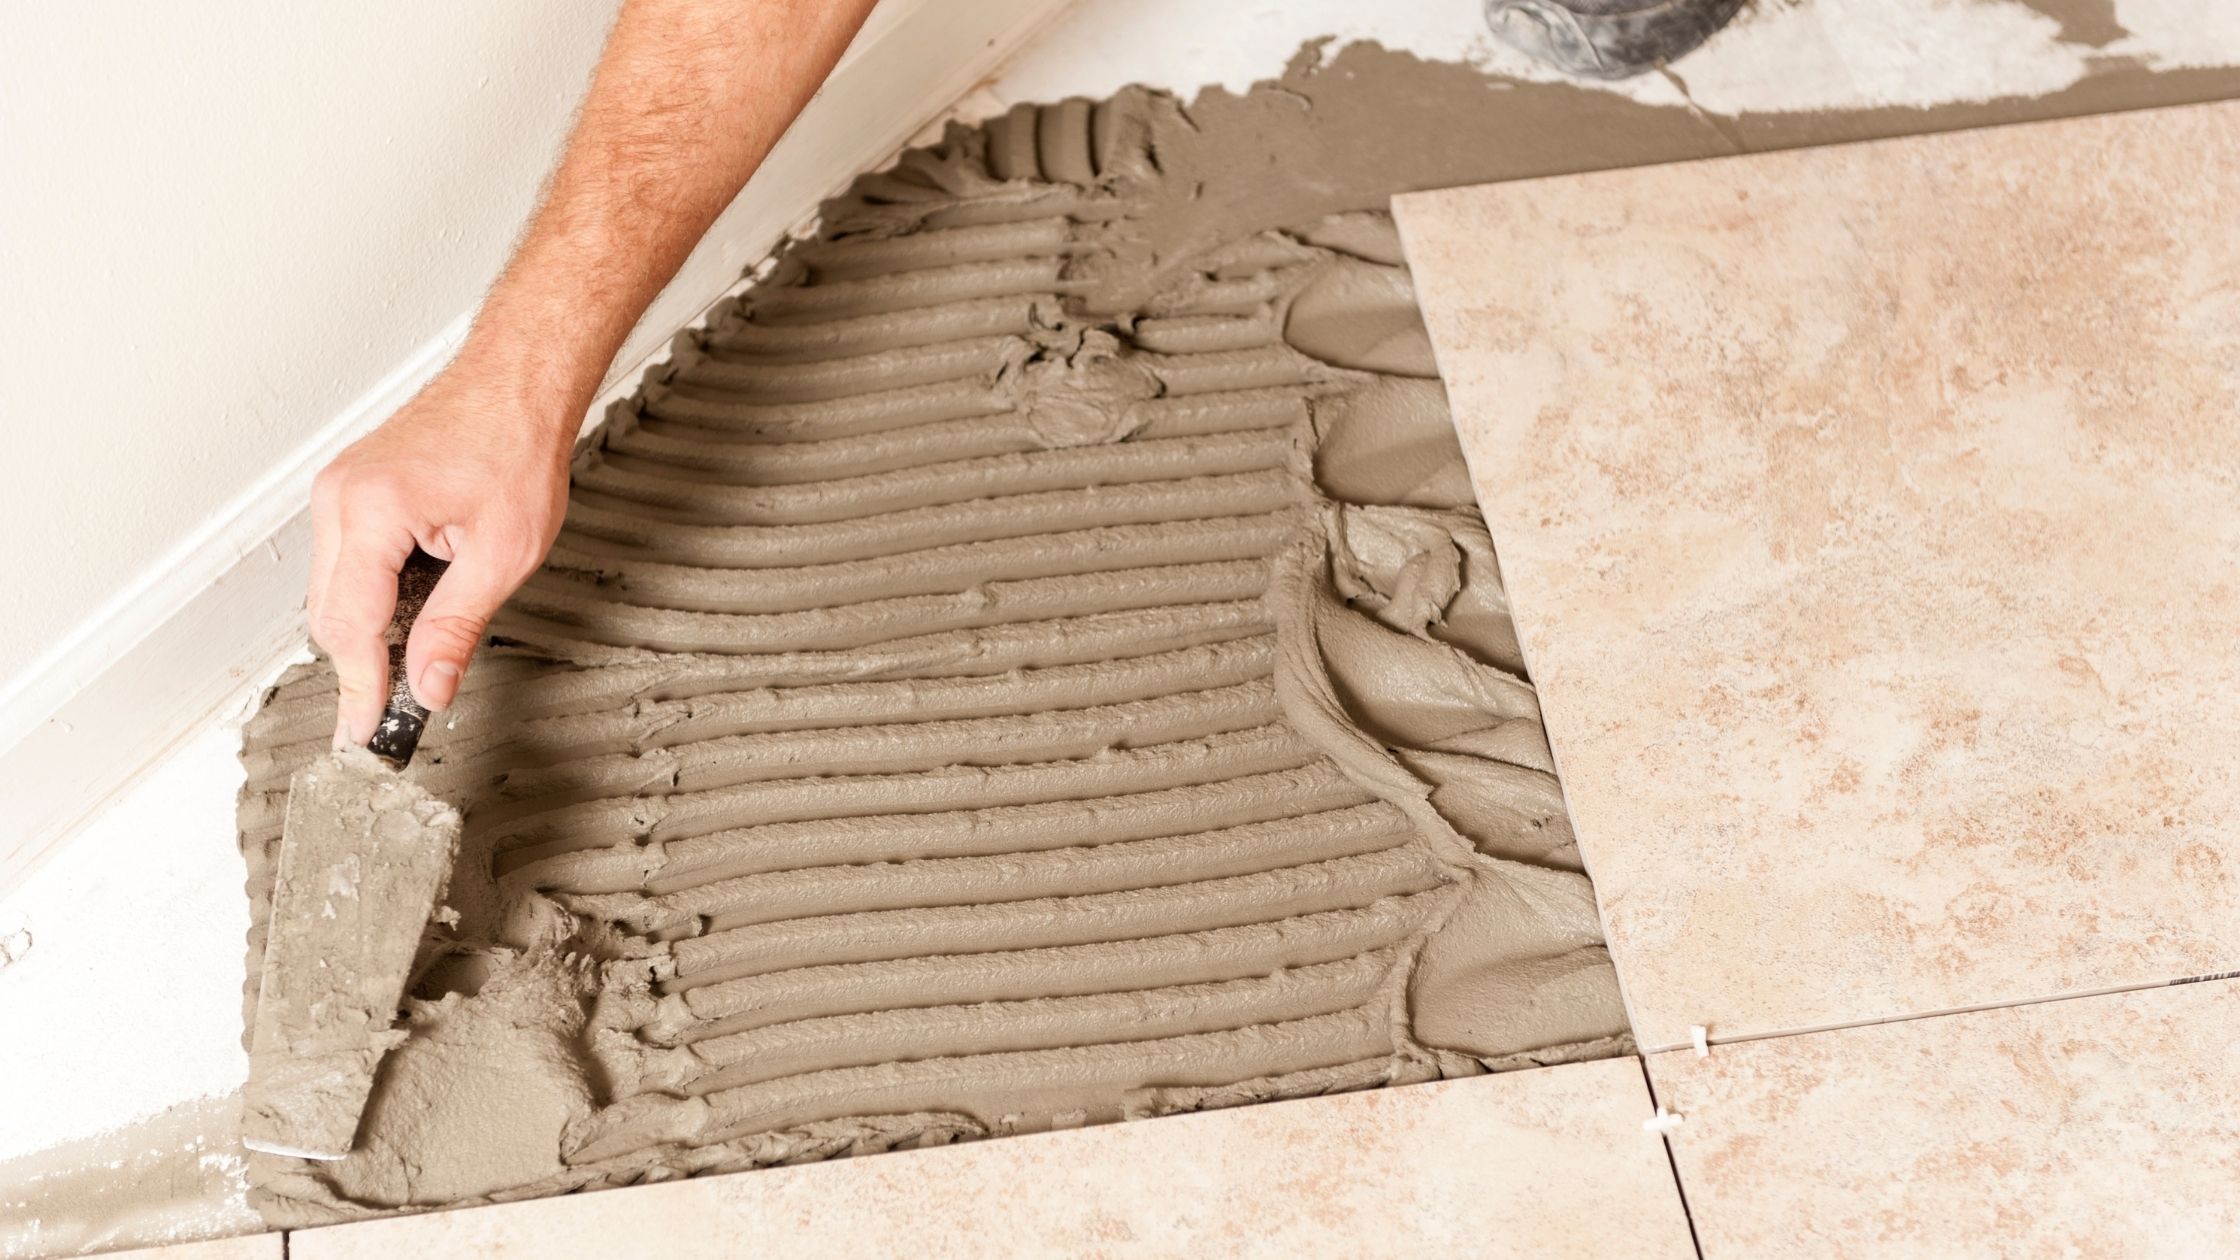
In kitchen renovations, the kitchen backsplash is usually the last project that can be installed. While its primary purpose is to be a pretty decorative piece that complete’s the kitchen design, it also helps homemakers to protect their walls against splatters and spills, keeping the wall behind the counters and stove clean and pristine.
Installing backsplash tiles in your continue is not only practical, but it is also a sure-fire way to infuse your style and your personality into your kitchen. Whether you like the simplicity of a minimalist kitchen or the coziness of maximalism could bring, there are thousands of backsplash tiles you can choose–starting from their material and design.

Since the type of tile that is used for backsplashing does not get subjected to large amounts of water or even walked on like a regular tile, they can be made from any material you can find. However, you must note that some materials do have special considerations in regards to maintenance and installation.
These are some of the most popular types of backsplash tiles:

Since the kitchen is completely functional without backsplash tiles, it is usually installed last. This means that many homemakers can plan to choose the perfect tiles for their kitchen. In fact, they can even handle it on their own and install them themselves because it can arguably be one of the easiest renovations you can do to a part of the house that everyone sees and uses.
Remember, you don’t have to install a backsplash wall right away with the rest of your kitchen appliances, designs, and decorations for the kitchen to be functional. It may take some time for many reasons, like budget constraints, limited free time, or you just couldn’t decide who backsplash material and design to use. There’s no rush, you can take your time making your backsplash decision to ensure you are making something that is best for you, your lifestyle, and your space.
To shop for backsplash tiles and other materials for home renovation, AllHome.com.ph is here to help you in bringing life to your homes with just a click. It’s as easy as browsing the latest offers, getting everything you want with our fast delivery service, and paying cash on delivery or using online easy payment terms. You may still visit any AllHome branch to further your shopping experience. Everything you need that concerns your home, any corner of it, from the kitchen to the living room, furniture to construction materials, appliances, sanitary wares, and many more. For more updates and details on latest offers, follow our official Facebook page and Instagram account for more updates.
Like this article? Sign up for our newsletter to get more articles like these delivered straight to your inbox.